Outdoor LED lighting is efficient, durable, and exposed to rain, dust, heat, vibration, and insects. Learning how to maintain outdoor led lighting protects visibility, safety, and long-term investment. It also prevents small faults from becoming expensive replacements.
The U.S. Department of Energy’s Solid-State Lighting program explains that LED lifetime should be judged through lumen maintenance, not sudden lamp failure. Its guidance shows why a fixture can still operate while producing noticeably less light. James R. Brodrick, a former DOE SSL program manager, puts it plainly: “LEDs are not maintenance-free.” That sentence deserves attention.
A practical maintenance plan begins with monthly visual checks. Look for darkened lenses, water inside housings, loose cables, cracked seals, and leaning poles. Clean lenses with a soft cloth and mild detergent. Avoid abrasive pads; they can create scratches that scatter light. Check drainage paths after heavy rain. Verify photocells, timers, and dimming controls before seasonal use.
IES standards, including TM-21 and LM-80 guidance, distinguish measured lumen depreciation from assumed service life. The Lighting Research Center also stresses the importance of thermal management because excessive heat accelerates LED degradation. In the field, blocked vents and dark-colored enclosures can trap heat. That detail is easy to miss.
Do not treat every flicker as a failed LED. The driver, connector, surge protector, or control system may be responsible. Record voltage, operating hours, cleaning dates, and observed brightness. Some maintenance schedules are too optimistic. Reconsider them after coastal storms, freezing weather, or construction nearby. Reliable upkeep is measured by consistent illumination, not by the fixture simply turning on.
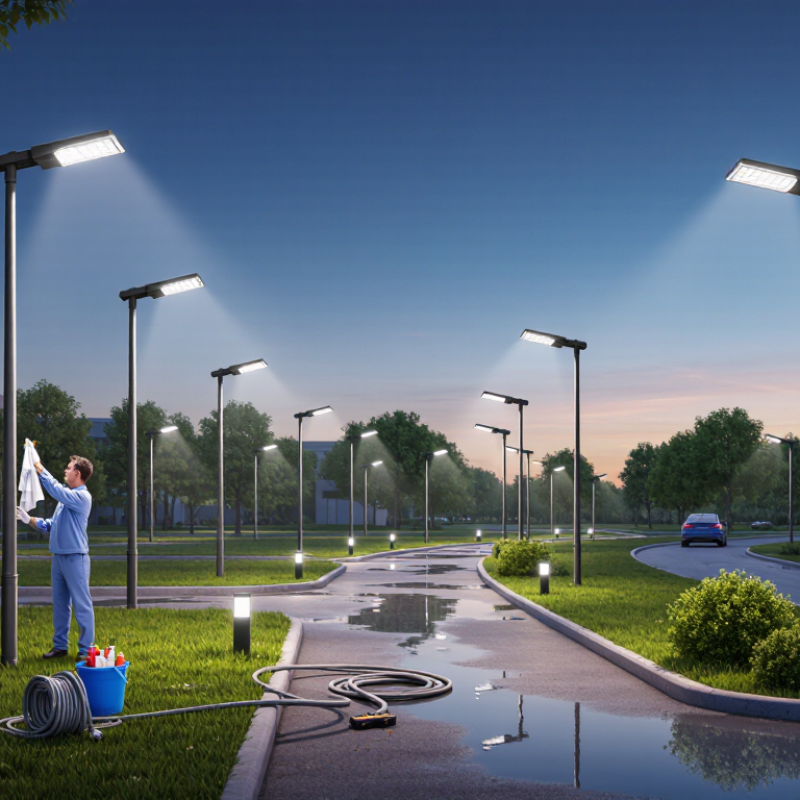
Outdoor LED lighting systems in China combine luminaires, drivers, poles, cables, controls, and protection devices. Understanding this structure makes maintenance more predictable. The International Energy Agency reported that LEDs represented about half of global lighting sales in 2022. However, LED efficiency does not prevent system failure. Drivers, connectors, and seals often age first.
Choose fixtures with suitable IP and IK ratings for local exposure. IP66 helps resist dust and heavy rain, while corrosion-resistant housings suit coastal cities. The U.S. Department of Energy notes that well-managed LED systems can exceed 50,000 operating hours. That figure assumes proper thermal design. In practice, blocked vents, high humidity, and unstable voltage can shorten service life. Monthly visual checks should inspect flickering, water marks, loose glands, and darkened lenses.
China’s large temperature range also affects maintenance planning. A northern installation may face freezing winters, while southern projects experience heat and persistent moisture. Use surge protection, correctly sized cables, and drivers matched to the fixture load. Keep a simple record of voltage, operating hours, and fault locations. It exposes repeated problems. I have found that cleaning alone rarely fixes recurring failures. Thermal contact, grounding, or control settings may be the real cause. The plan may still need adjustment after one season. Reference requirements should include applicable Chinese lighting and electrical standards, plus the manufacturer’s verified test data.
Choose marine-grade stainless steel, sealed cable glands, and powder-coated aluminum housings. Salt air attacks weak metals and exposed screws. Check corrosion-testing reports, not only the fixture’s bright finish.
Aluminum helps release heat from LED modules. Use UV-resistant polycarbonate lenses to reduce cracking and yellowing. Keep airflow clear. Heat still surprises people.
Use impact-resistant covers and drainage paths. These features help prevent trapped water from expanding during freezing weather. Inspect covers after storms and harsh temperature changes.
Select suitable ingress protection and sealed cable connections. Remove leaves around drainage holes regularly. Water often enters through a neglected cable joint.
Turn off the circuit at the breaker. Verify it with a tested voltage meter. A wall switch alone is not enough. Qualified electricians should handle new circuits and uncertain grounding.
Place every connection inside a weatherproof junction box. Use outdoor-rated cable, sealed cable glands, and strain relief. Add a small drip loop below the fixture. Never bury unsuitable cable directly.
Follow clearance instructions and provide enough airflow around the housing. A tightly enclosed fitting may become dangerously hot. The LEDs can still work while the housing overheats.
Aim the fixture after sunset. Look for glare on windows, dark gaps, and unwanted spill. Tighten screws after the beam looks correct. Perfect alignment on a level may still look uneven outdoors.
Inspect seals every season and clean lenses with mild soap. Check loose brackets after strong storms. Record failures and compare patterns. No material is perfect; damaged coatings can still expose aluminum to corrosion.
Maintaining outdoor LED lighting in China begins with understanding how the system works, including power supplies, controllers, waterproof connections, and heat dissipation. Choosing durable materials is equally important because coastal areas, industrial zones, cold climates, and regions with heavy rain can place different demands on fixtures. Select corrosion-resistant housings, sealed connectors, UV-resistant cables, and suitable protection ratings for each environment.
To learn how to maintain outdoor led lighting effectively, install fixtures on stable surfaces and ensure wiring is protected from moisture, impact, and excessive heat. Regularly clean lenses, remove dust and leaves, and inspect mounting points, cables, seals, and electrical connections. If lights flicker, dim, fail to turn on, or show uneven brightness, check the power supply, connections, controller settings, and signs of water damage. Prompt repairs, scheduled inspections, and proper ventilation can extend service life, preserve brightness, improve safety, and reduce long-term maintenance costs.

 Lume Light